While earwax plays an essential role in the health of your ear canals, it is important that you don’t allow this wax to build up on your hearing aids. Not only can it interfere with the sound quality, but excess wax can cause costly damage to your device.
This is why it’s so important to make use of wax filters, which protect your hearing aids from wax. While you should change the wax filters every 3 to 4 weeks or so, the amount of wax buildup differs from person to person, and you may need to change yours more or less regularly than that. Read on for guidance on how to change the wax filters on your hearing aids.
Locating the Wax Filter
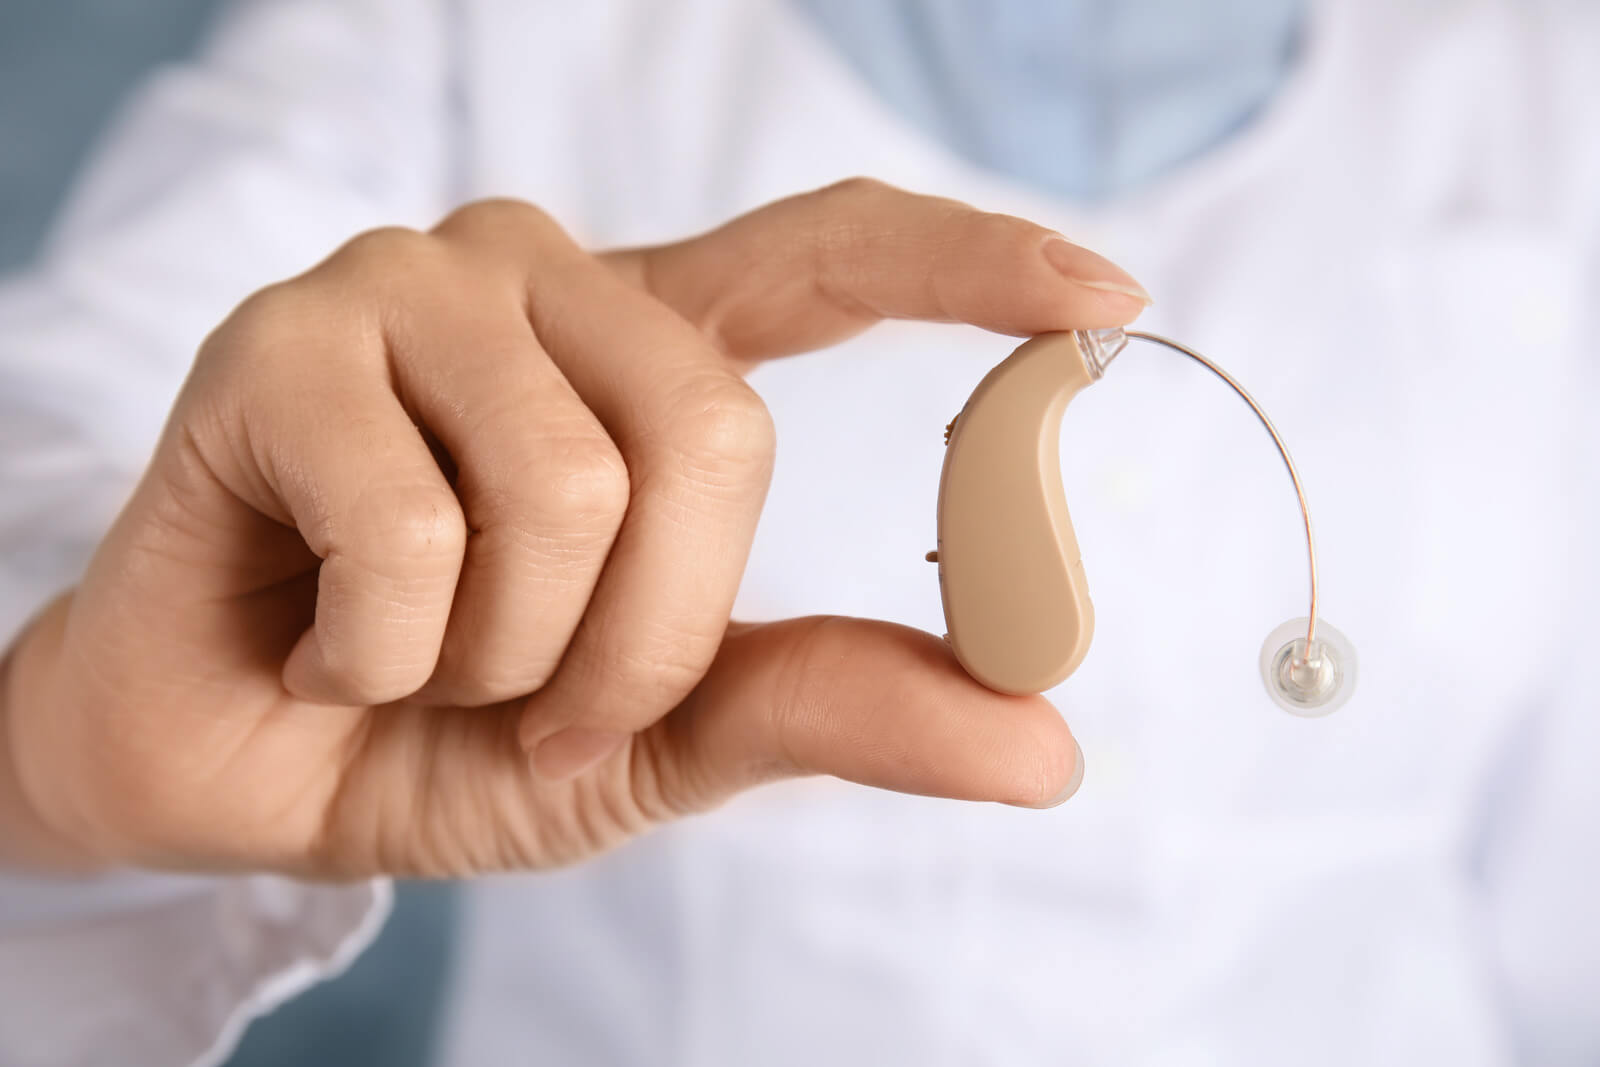
The location of the wax filter depends on the type of hearing aid and whether you use an ITE (in-the-ear), RITE (Receiver-in-the-Ear), or BTE (behind-the-ear) device. The wax filter on ITE hearing aids is located inside the hearing aid, however the wax filters in RITE and BTE hearing aids may be found in the speaker or the mould.
Removing the Wax Filter
Before you replace the wax filter with a new one, you’ll first need to remove the old one. New wax filters are typically mounted on a tool with a pin on one side, and the best way to remove the old filter is to use the pin to pierce the wax filter. Pull on the tool until the old filter has been successfully removed.
Replacing the Wax Filter
Next, you’re going to want to use the tool to insert the new filter into the hearing aid. Once you have removed the tool, you can use your hearing aid as normal. Overall the process is very easy and it will come naturally the more you do it.
Are you looking for reliable hearing aid experts in Queensland and New South Wales? Here at The Hearing Aid Centre, we offer hearing assessments, hearing aid fittings, and so much more. Get in touch with us today to book an appointment and learn more about what we have to offer.